Astaria User Guide
This page will give you an over view on how to use the Astaria frontend in order to take out your first loan.
The UI is currently in Beta and may not perform optimally. If you have any questions or encounter any issues, please reach out to us on Discord.
Only owners of an LSD NFT may participate in the closed beta. If you do not have a token, then you will not be able to use the app at this time. For more info, please refer to our beta explainer.
Taking out a loan
Open Astaria and click the
Open Appbutton in the header.Navigate to the
Borrowscreen and then theYour Loanspage and begin the process by clicking+ Create New Loan.
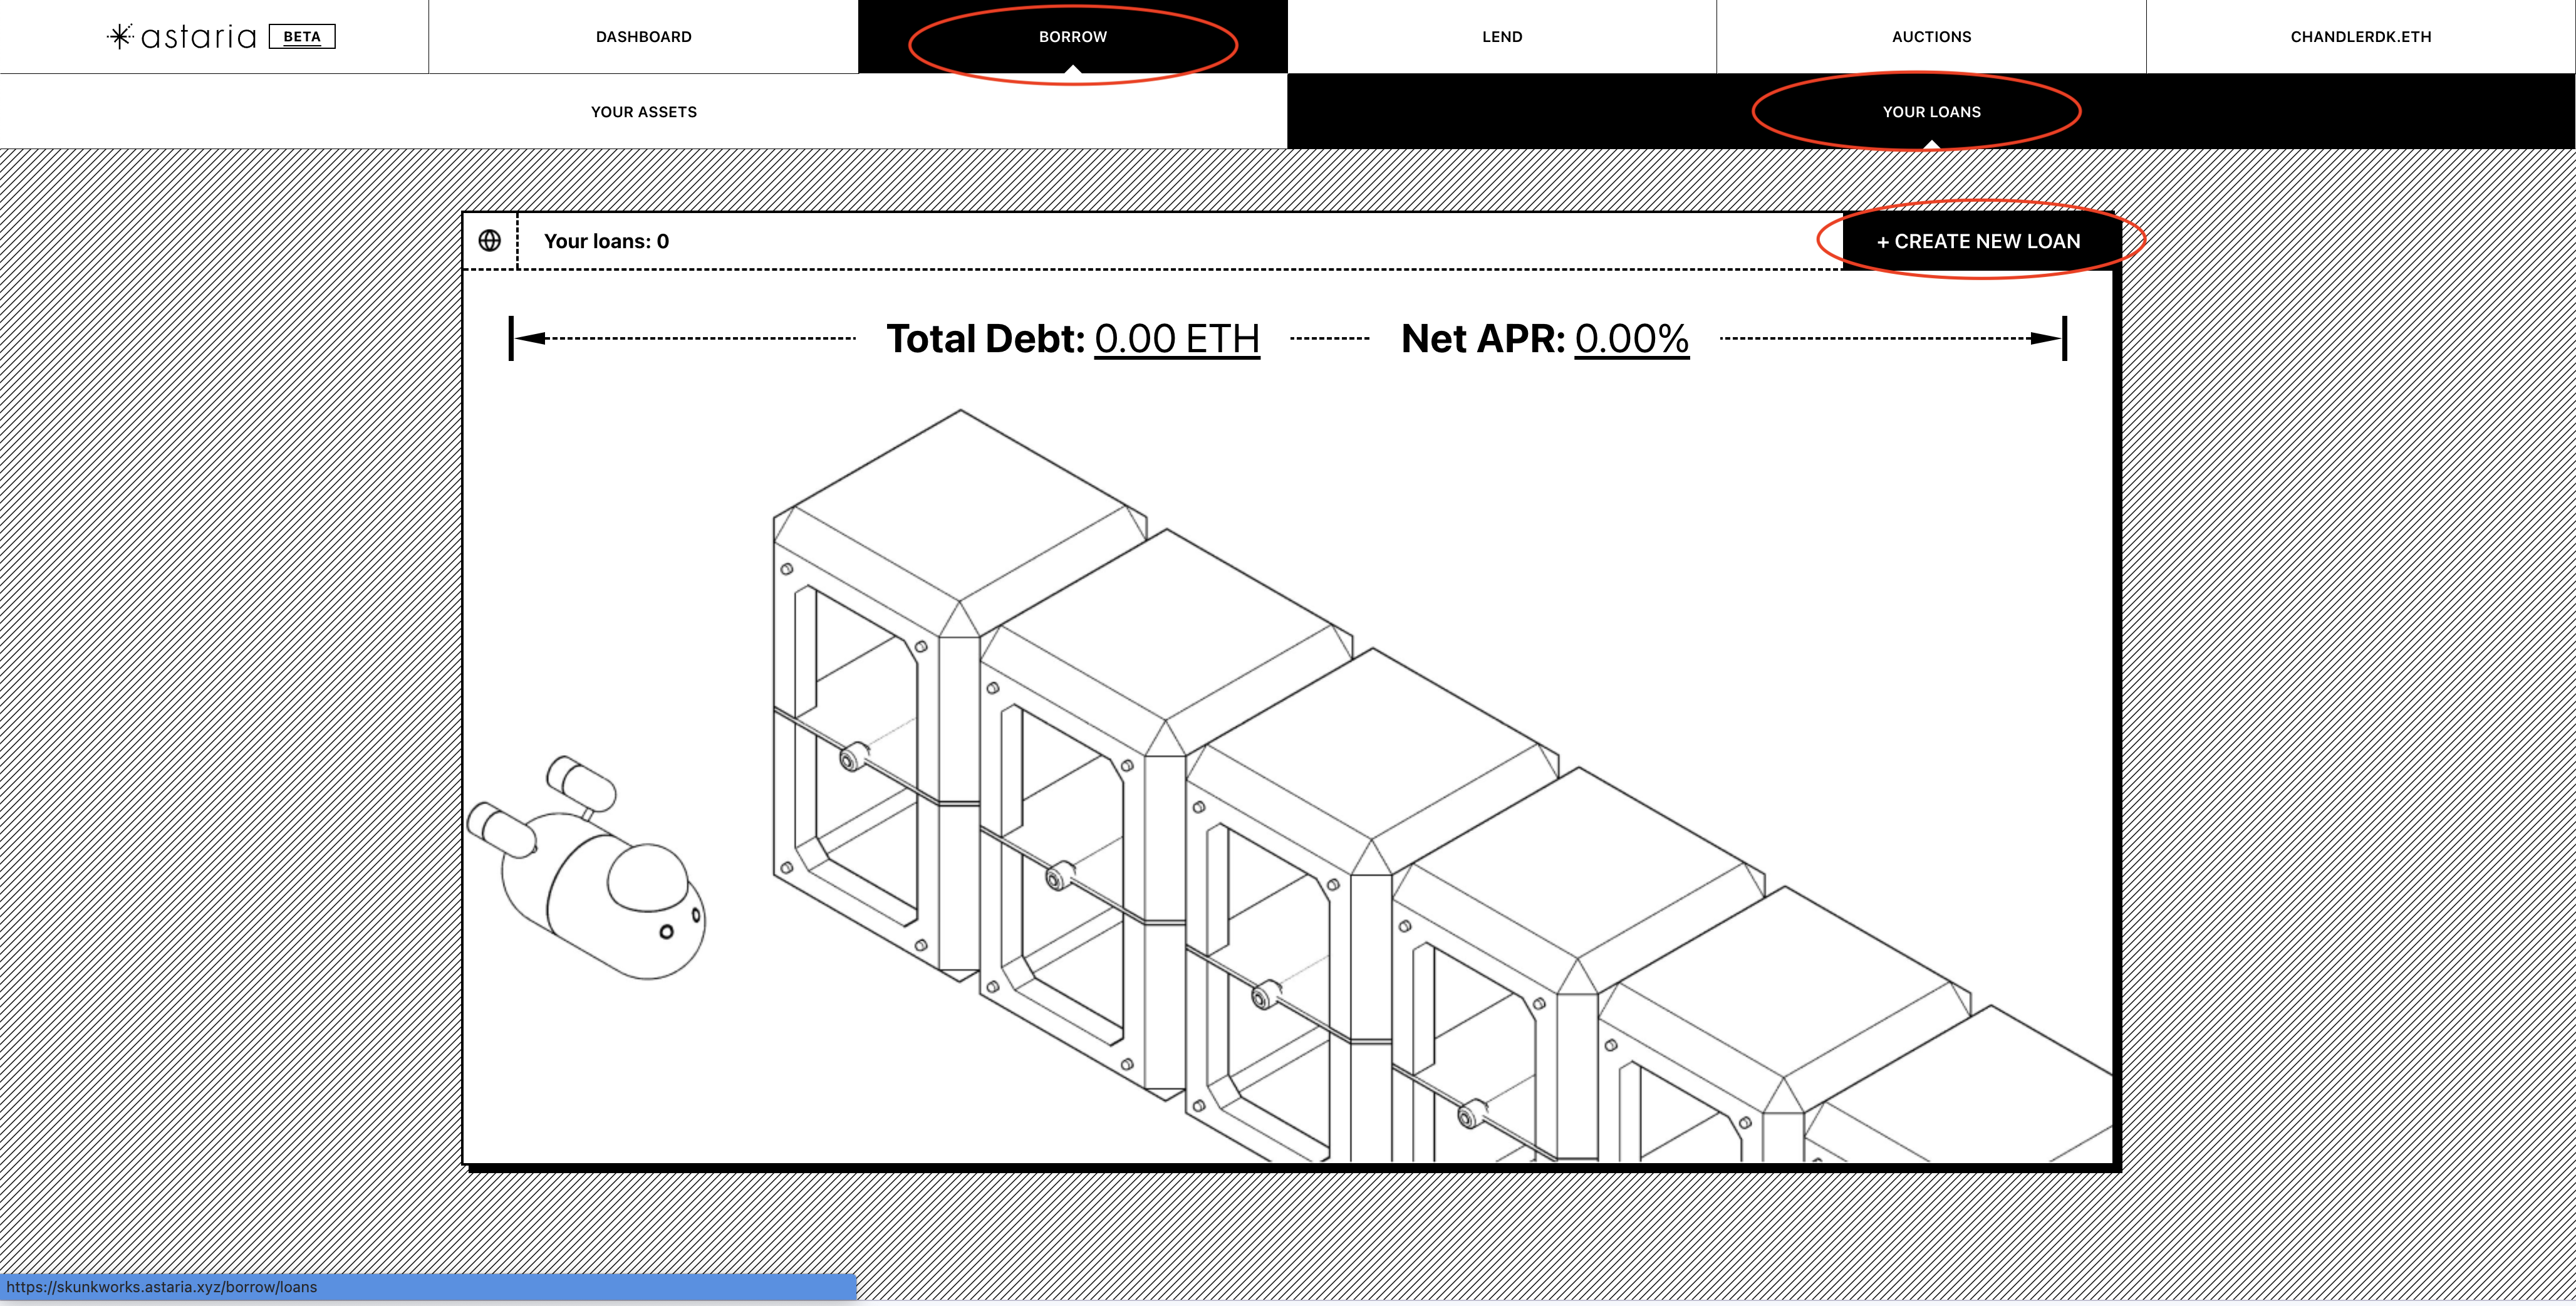
- You will now be directed to the
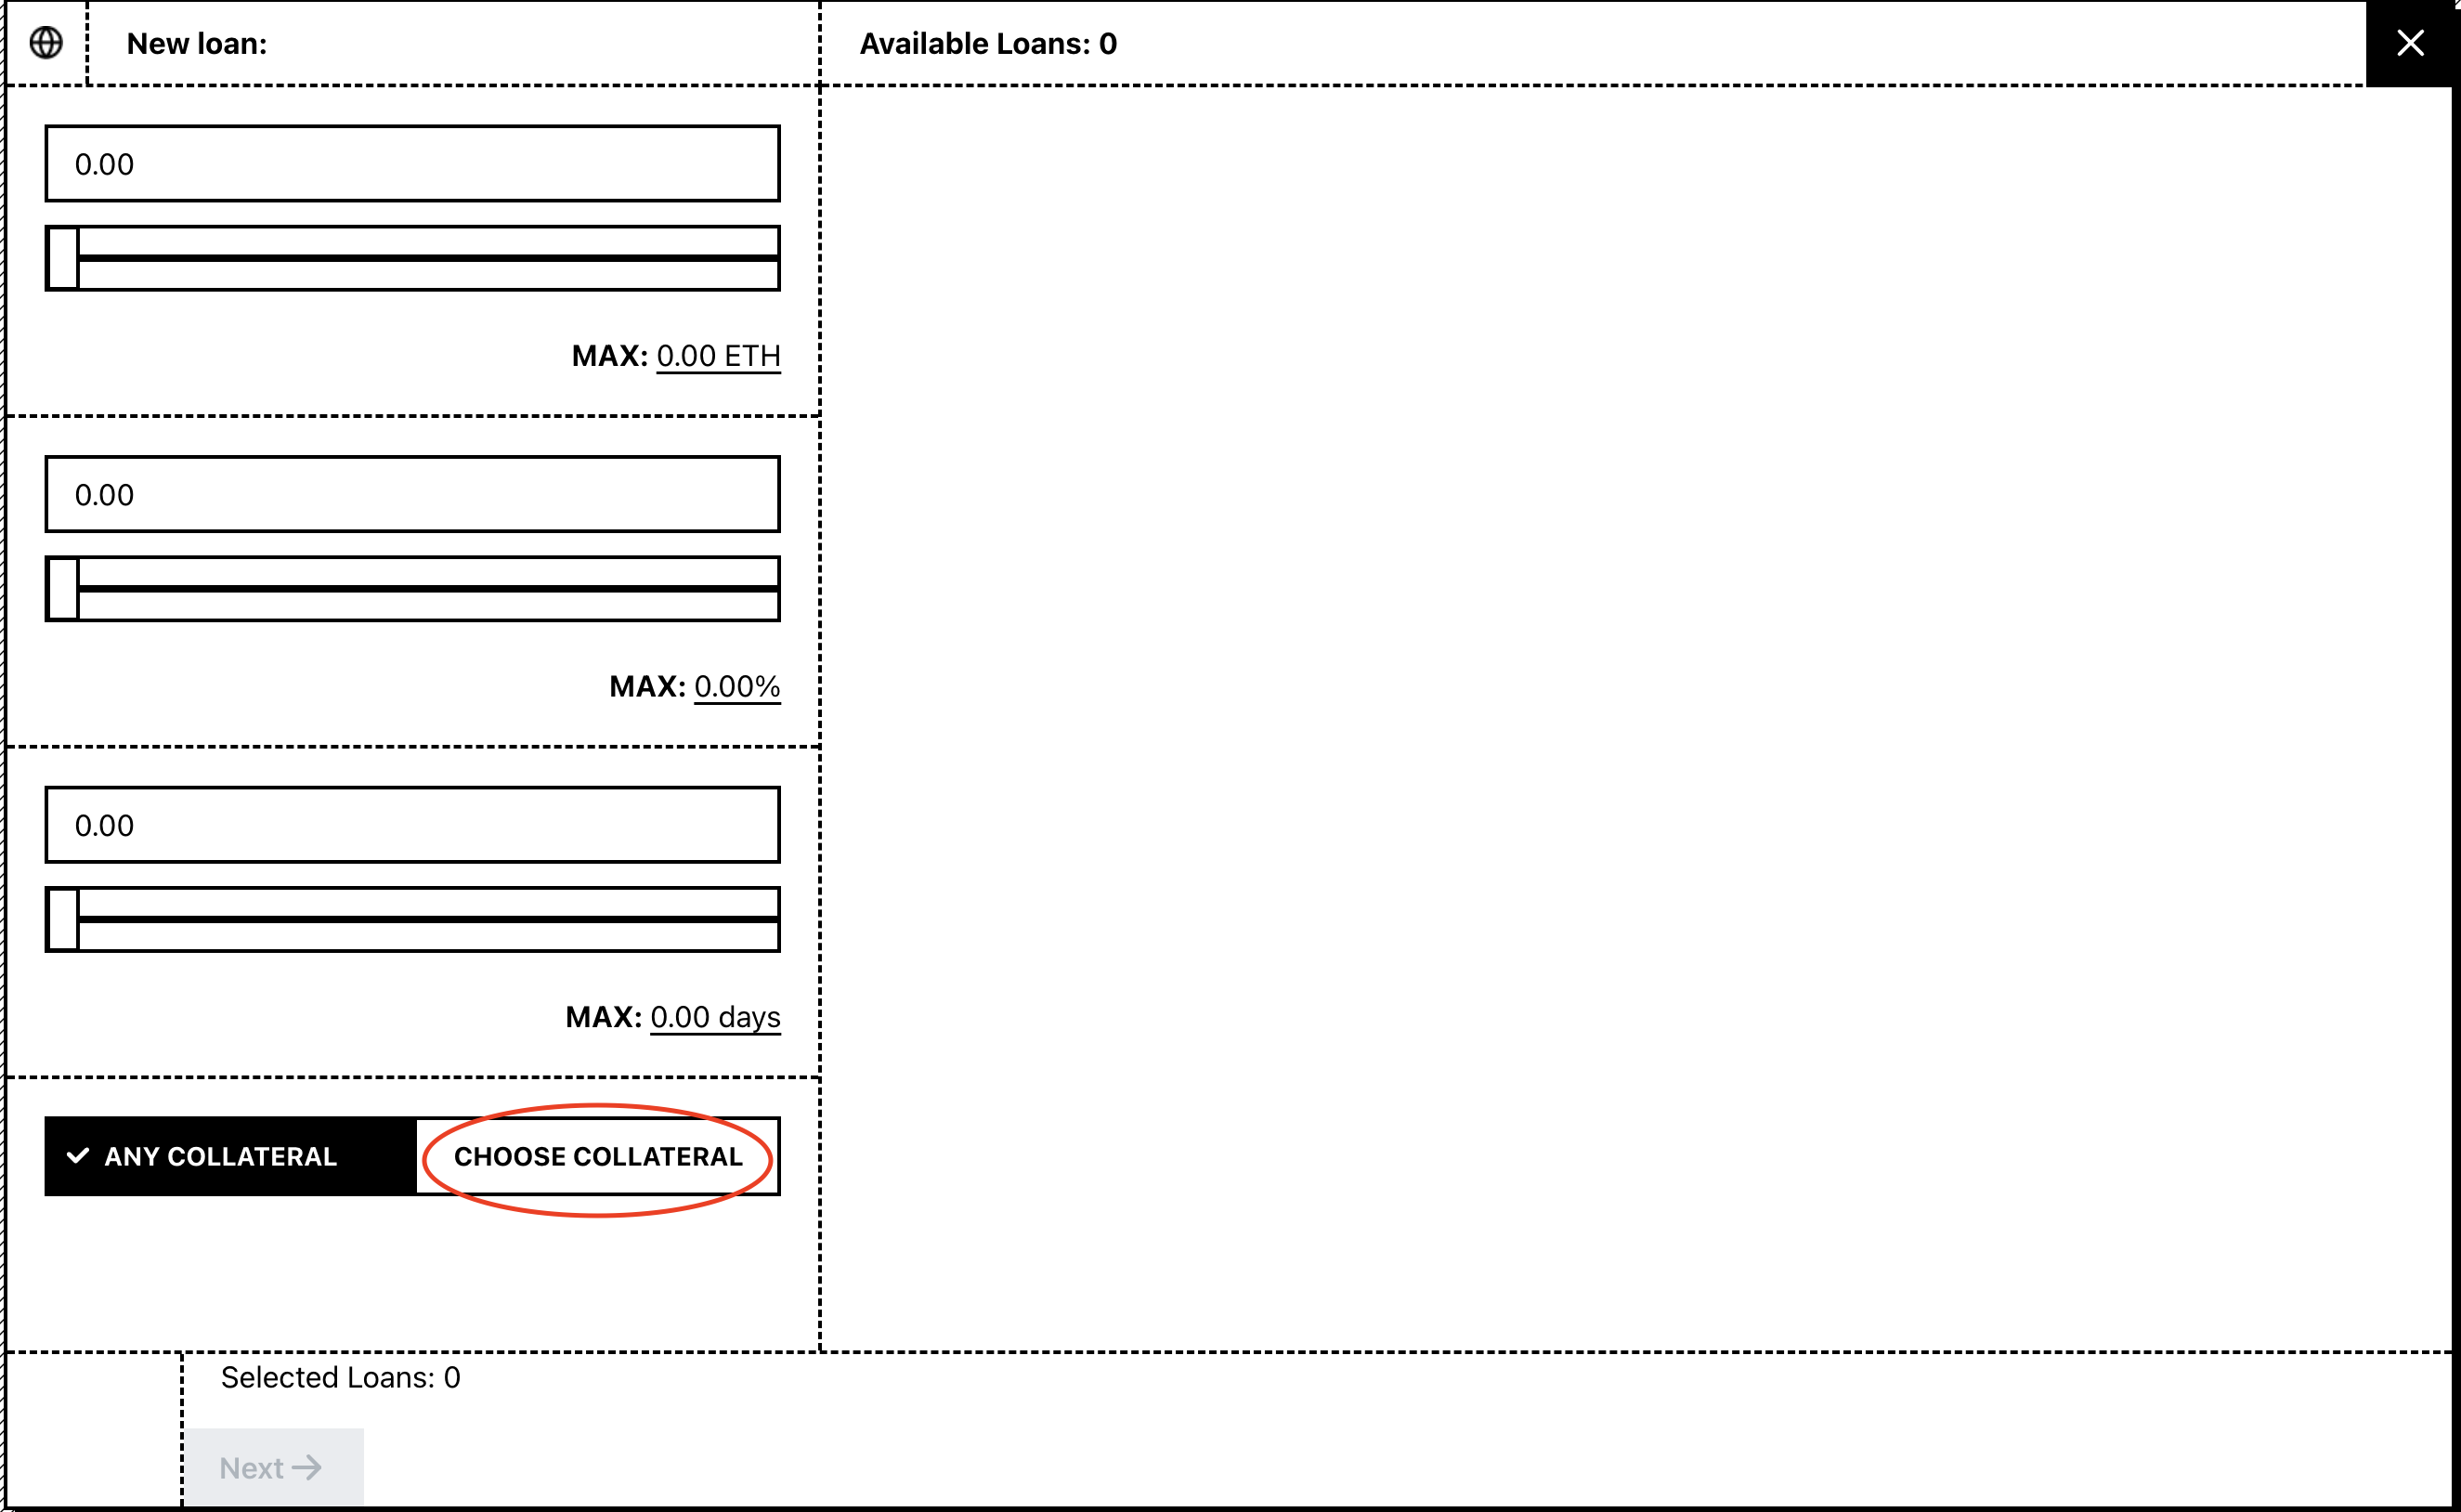
New Loanscreen. This will display any active loans you have against your NFTs. To create a new loan, open theChoose Collateralmodal to select NFTs to borrow against.
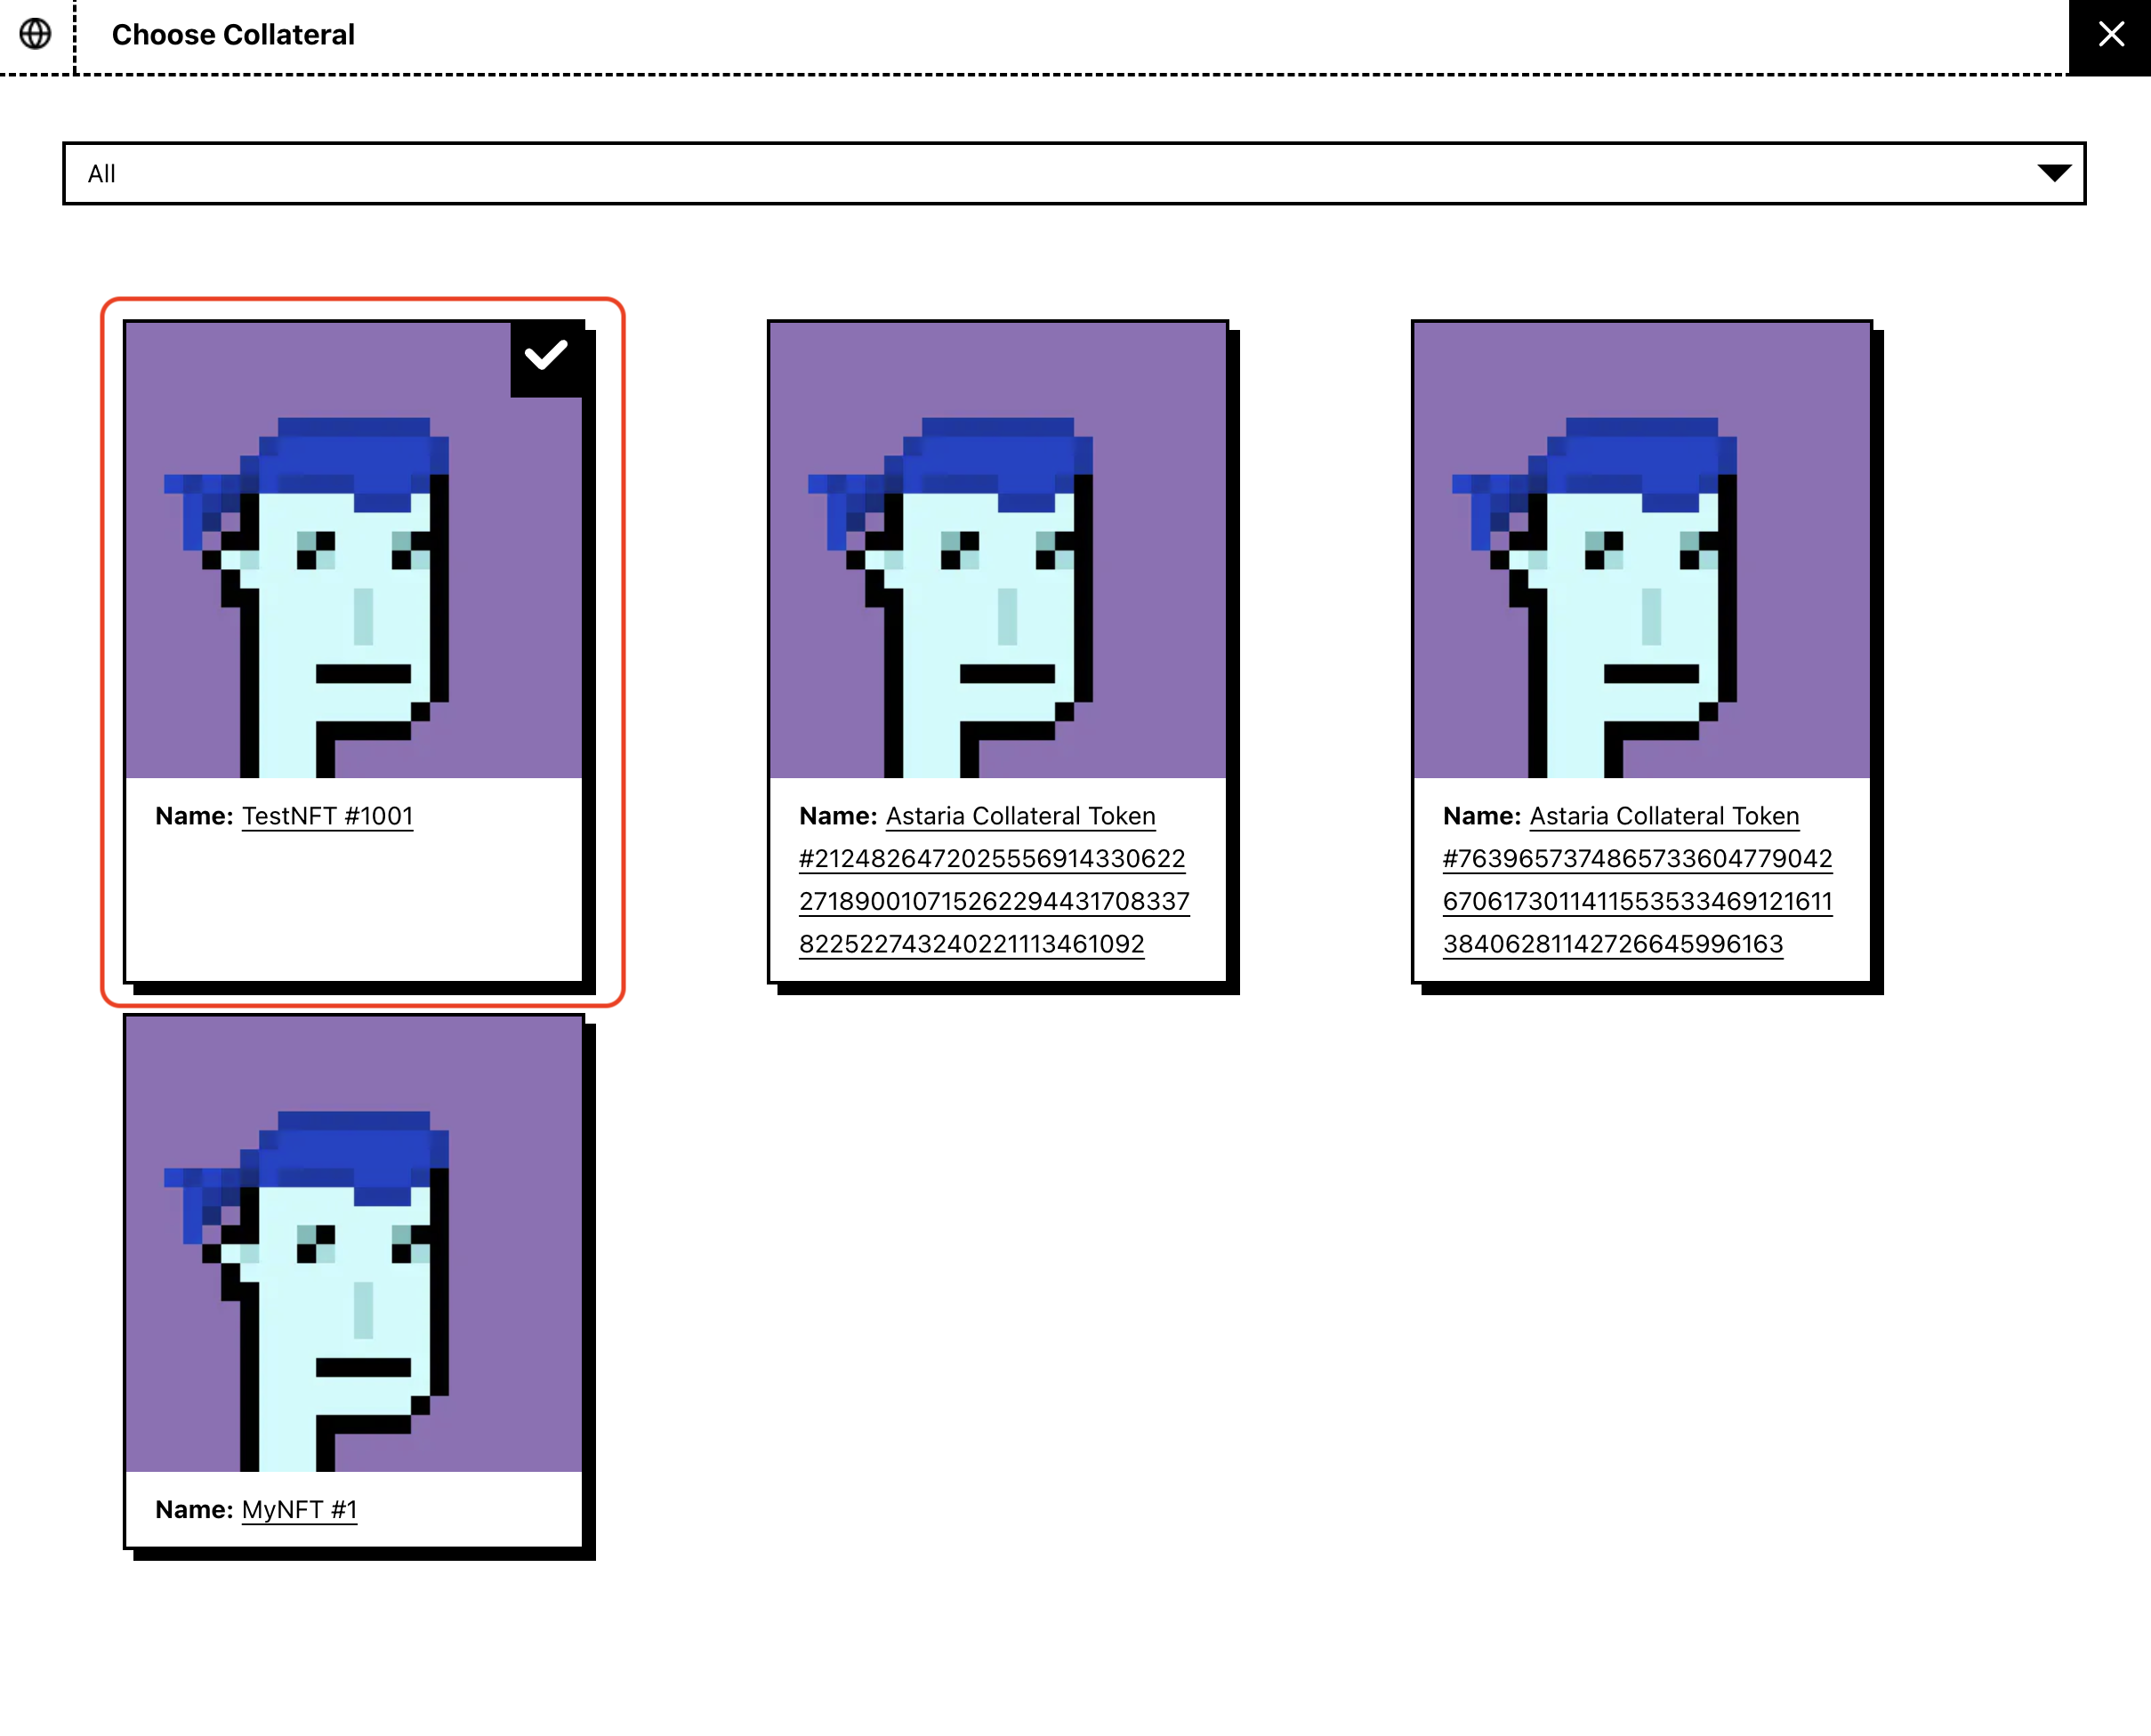
- You should now see all of the NFTs in your wallet that have available terms on Astaria. Use the dropdowns to filter by collection and select the NFTs you wish to borrow against. Click
Confirmto finalize your selection.
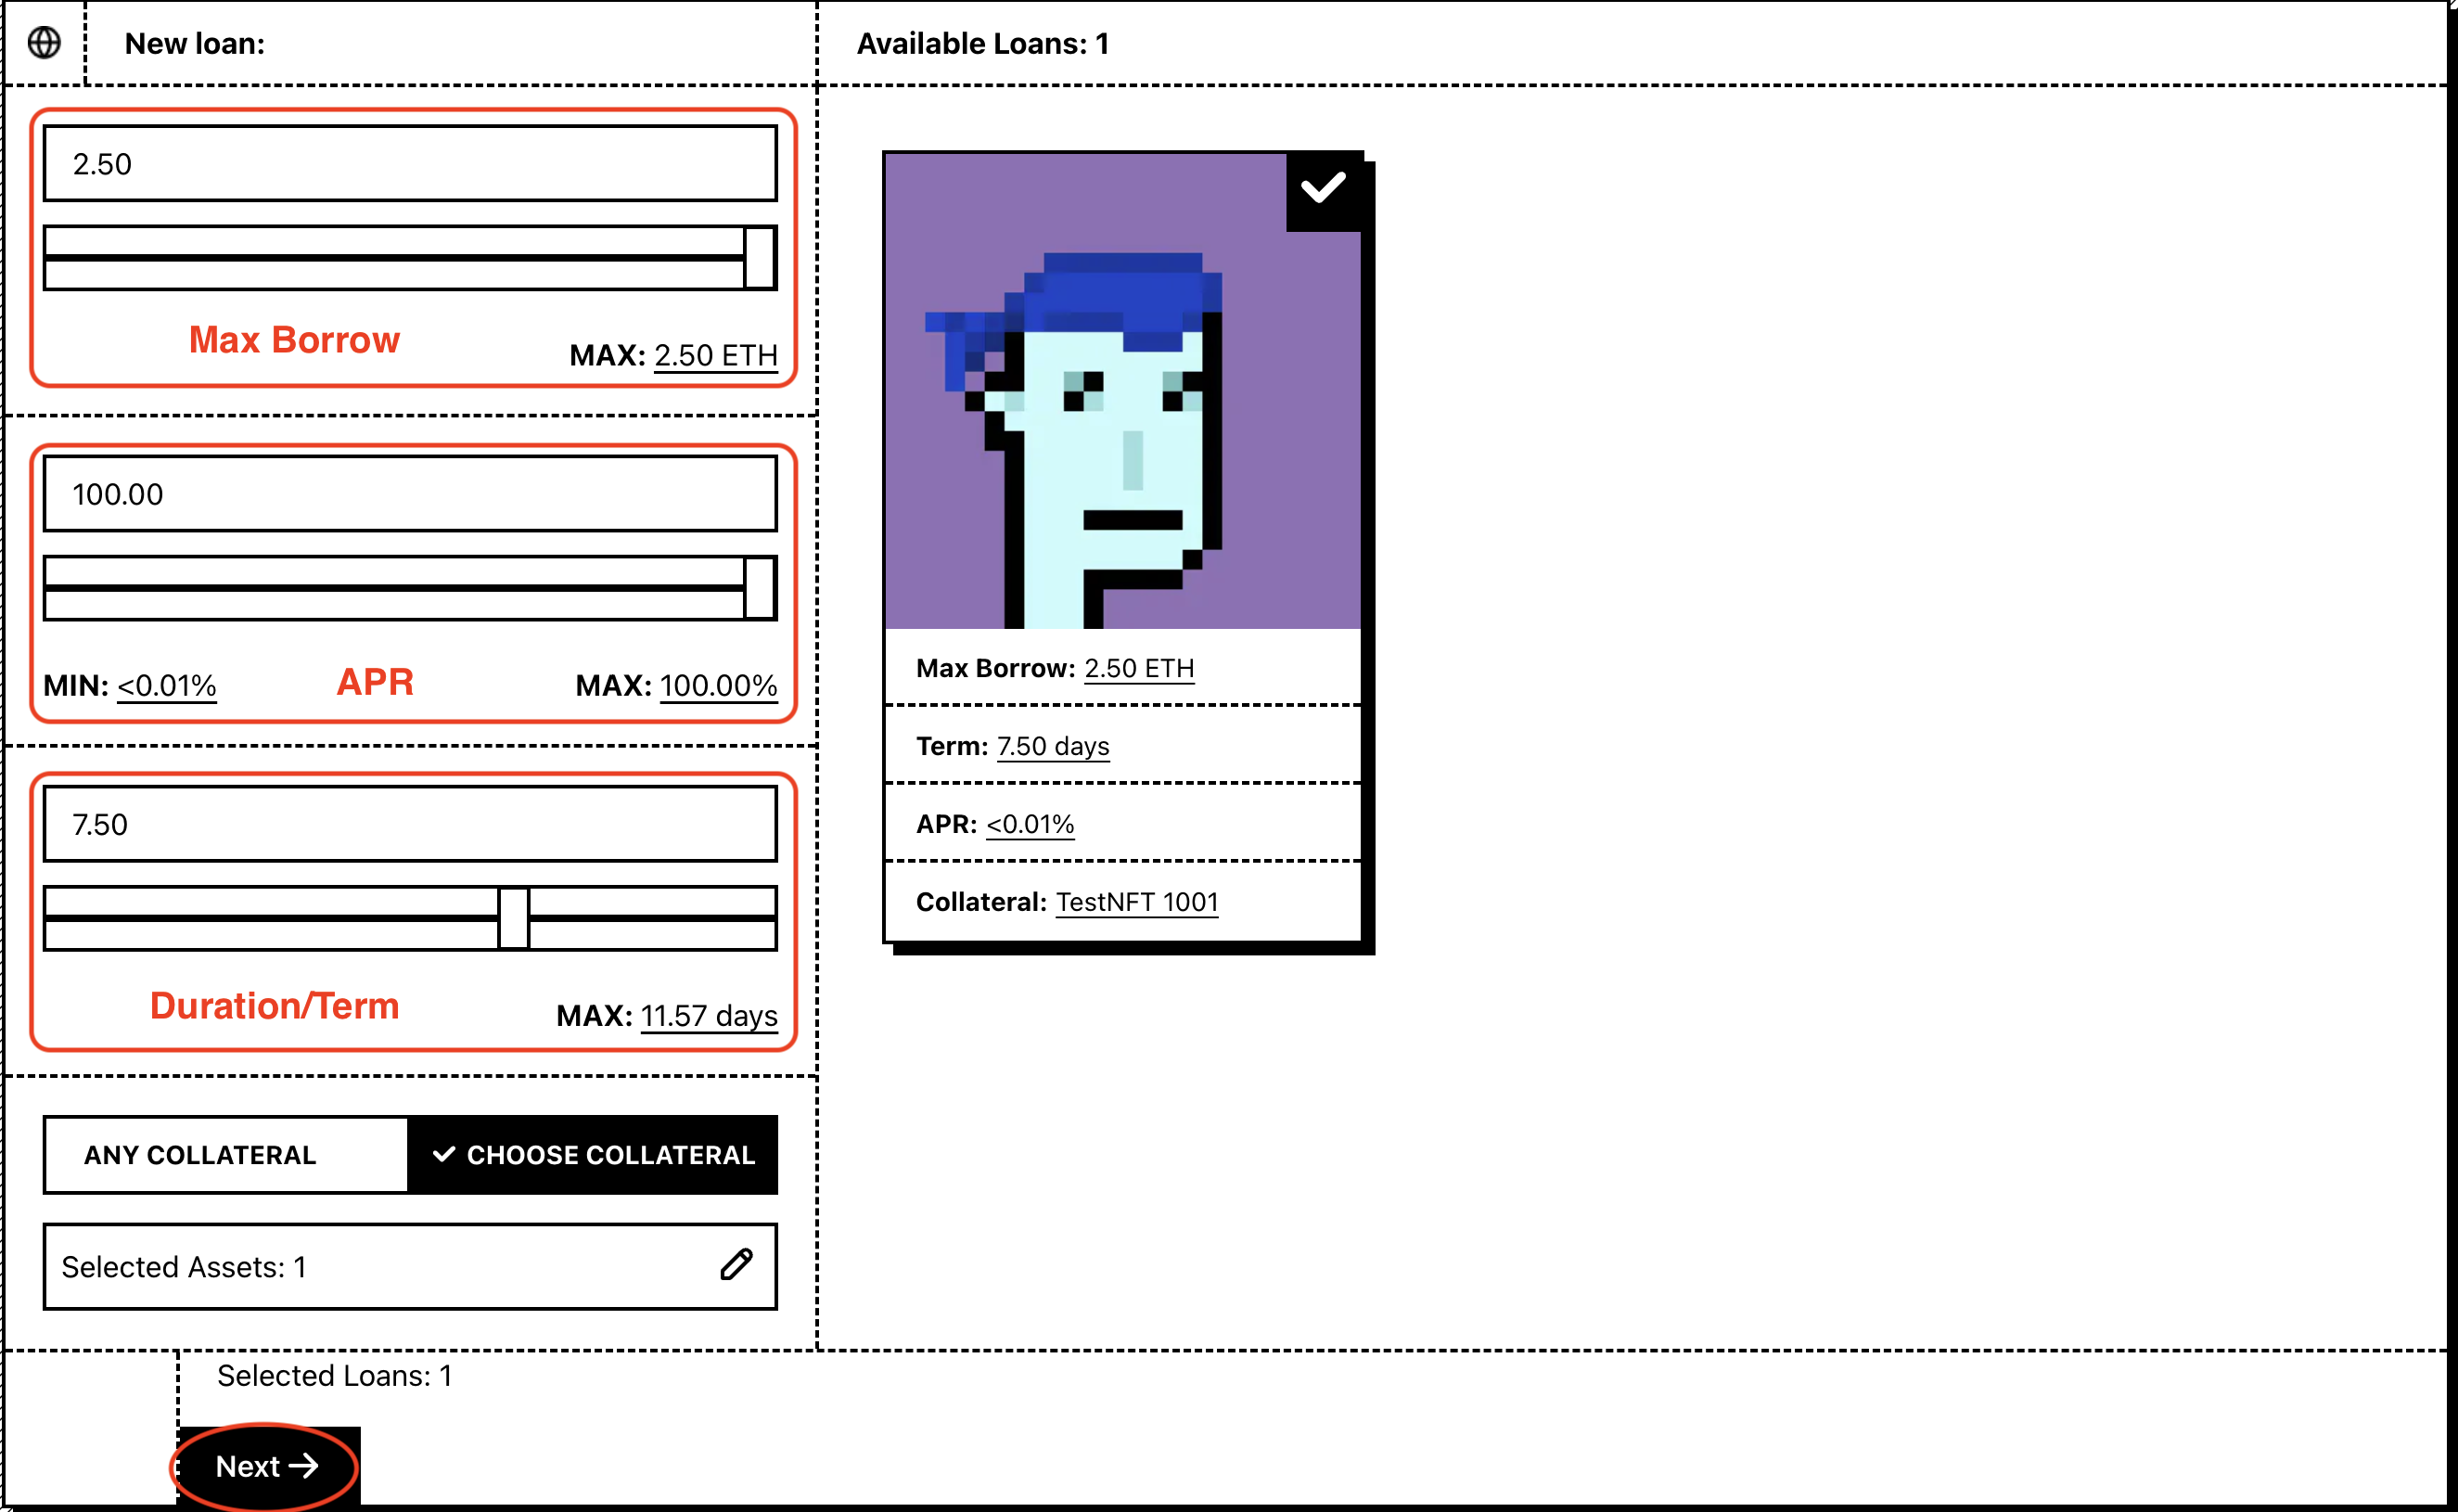
- You should now be able to customize the terms compatible with your selected NFTs. In this example, the borrow slider is set to the maximum available 2.5 ETH, the APR slider is set to the lowest available 0.01%, and the loan duration is set to 7.5 days. Once you have finalized your terms, click
Next.
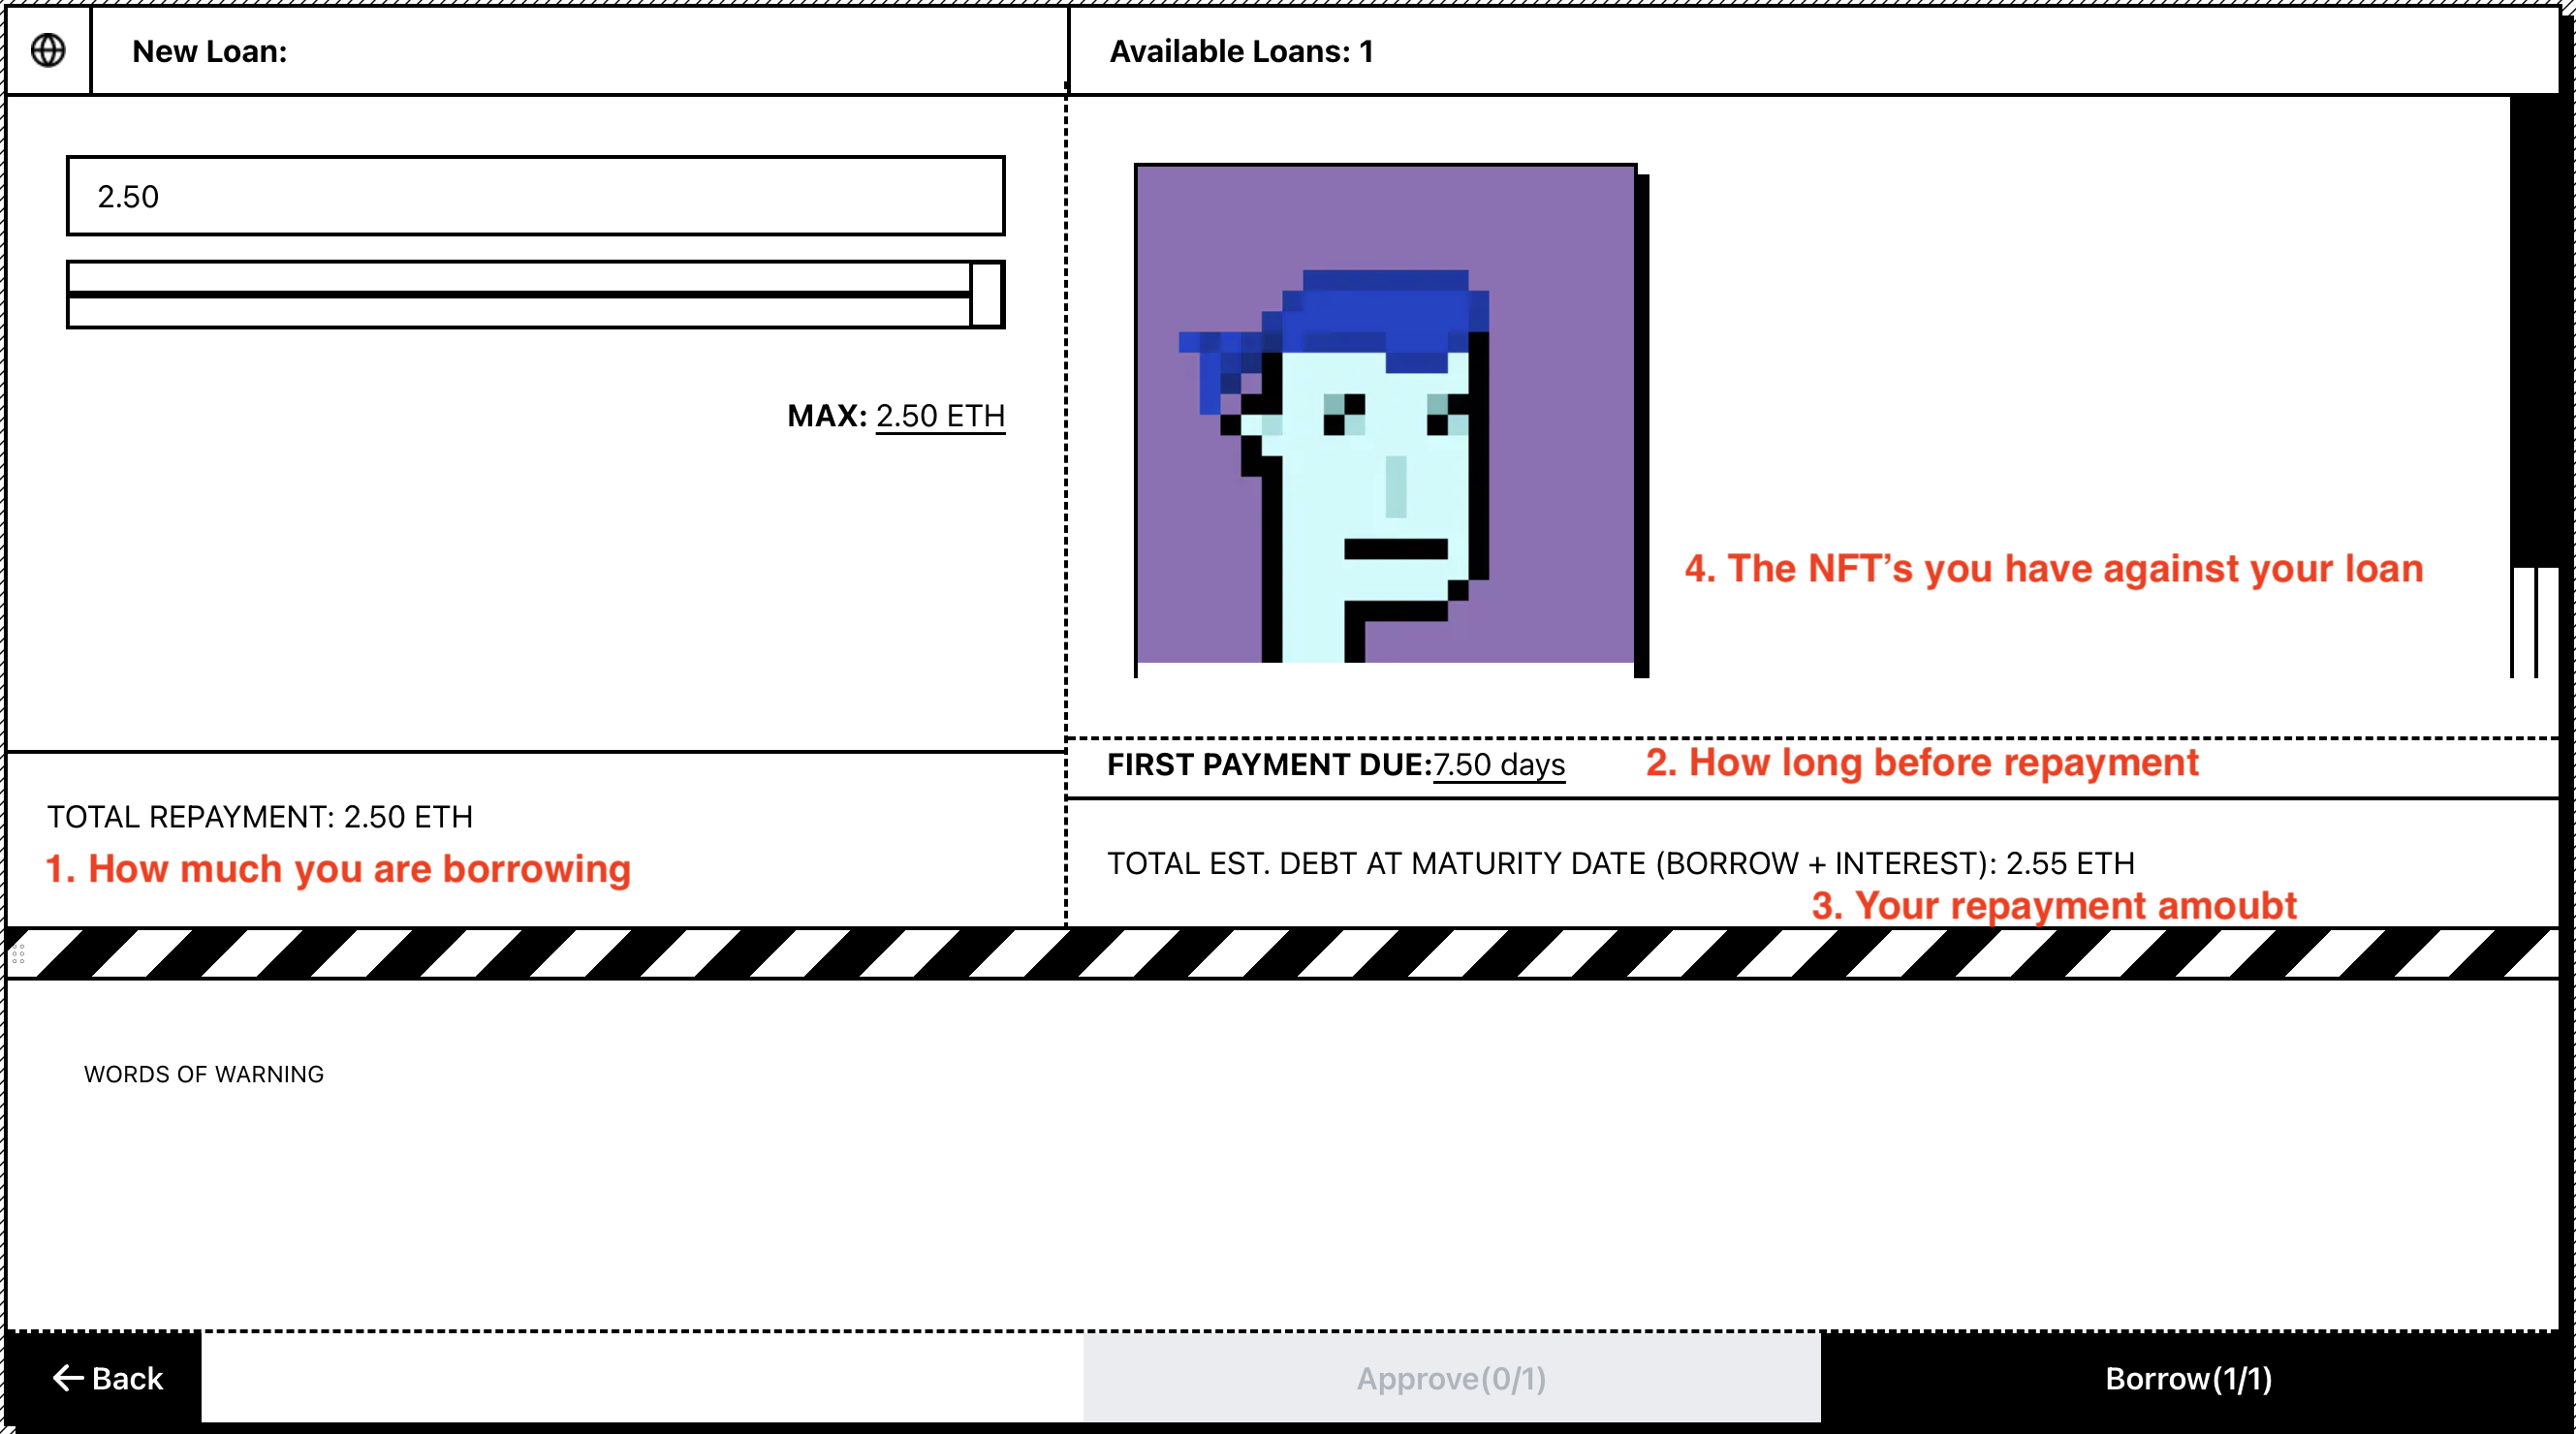
- This final screen displays a loan information summary based on your previous selections. You should confirm all of the following:
- Your borrow amount
- When your first repayment is due
- Your total repayment amount, assuming one complete payment at loan expiration
- The NFTs you have selected to borrow against
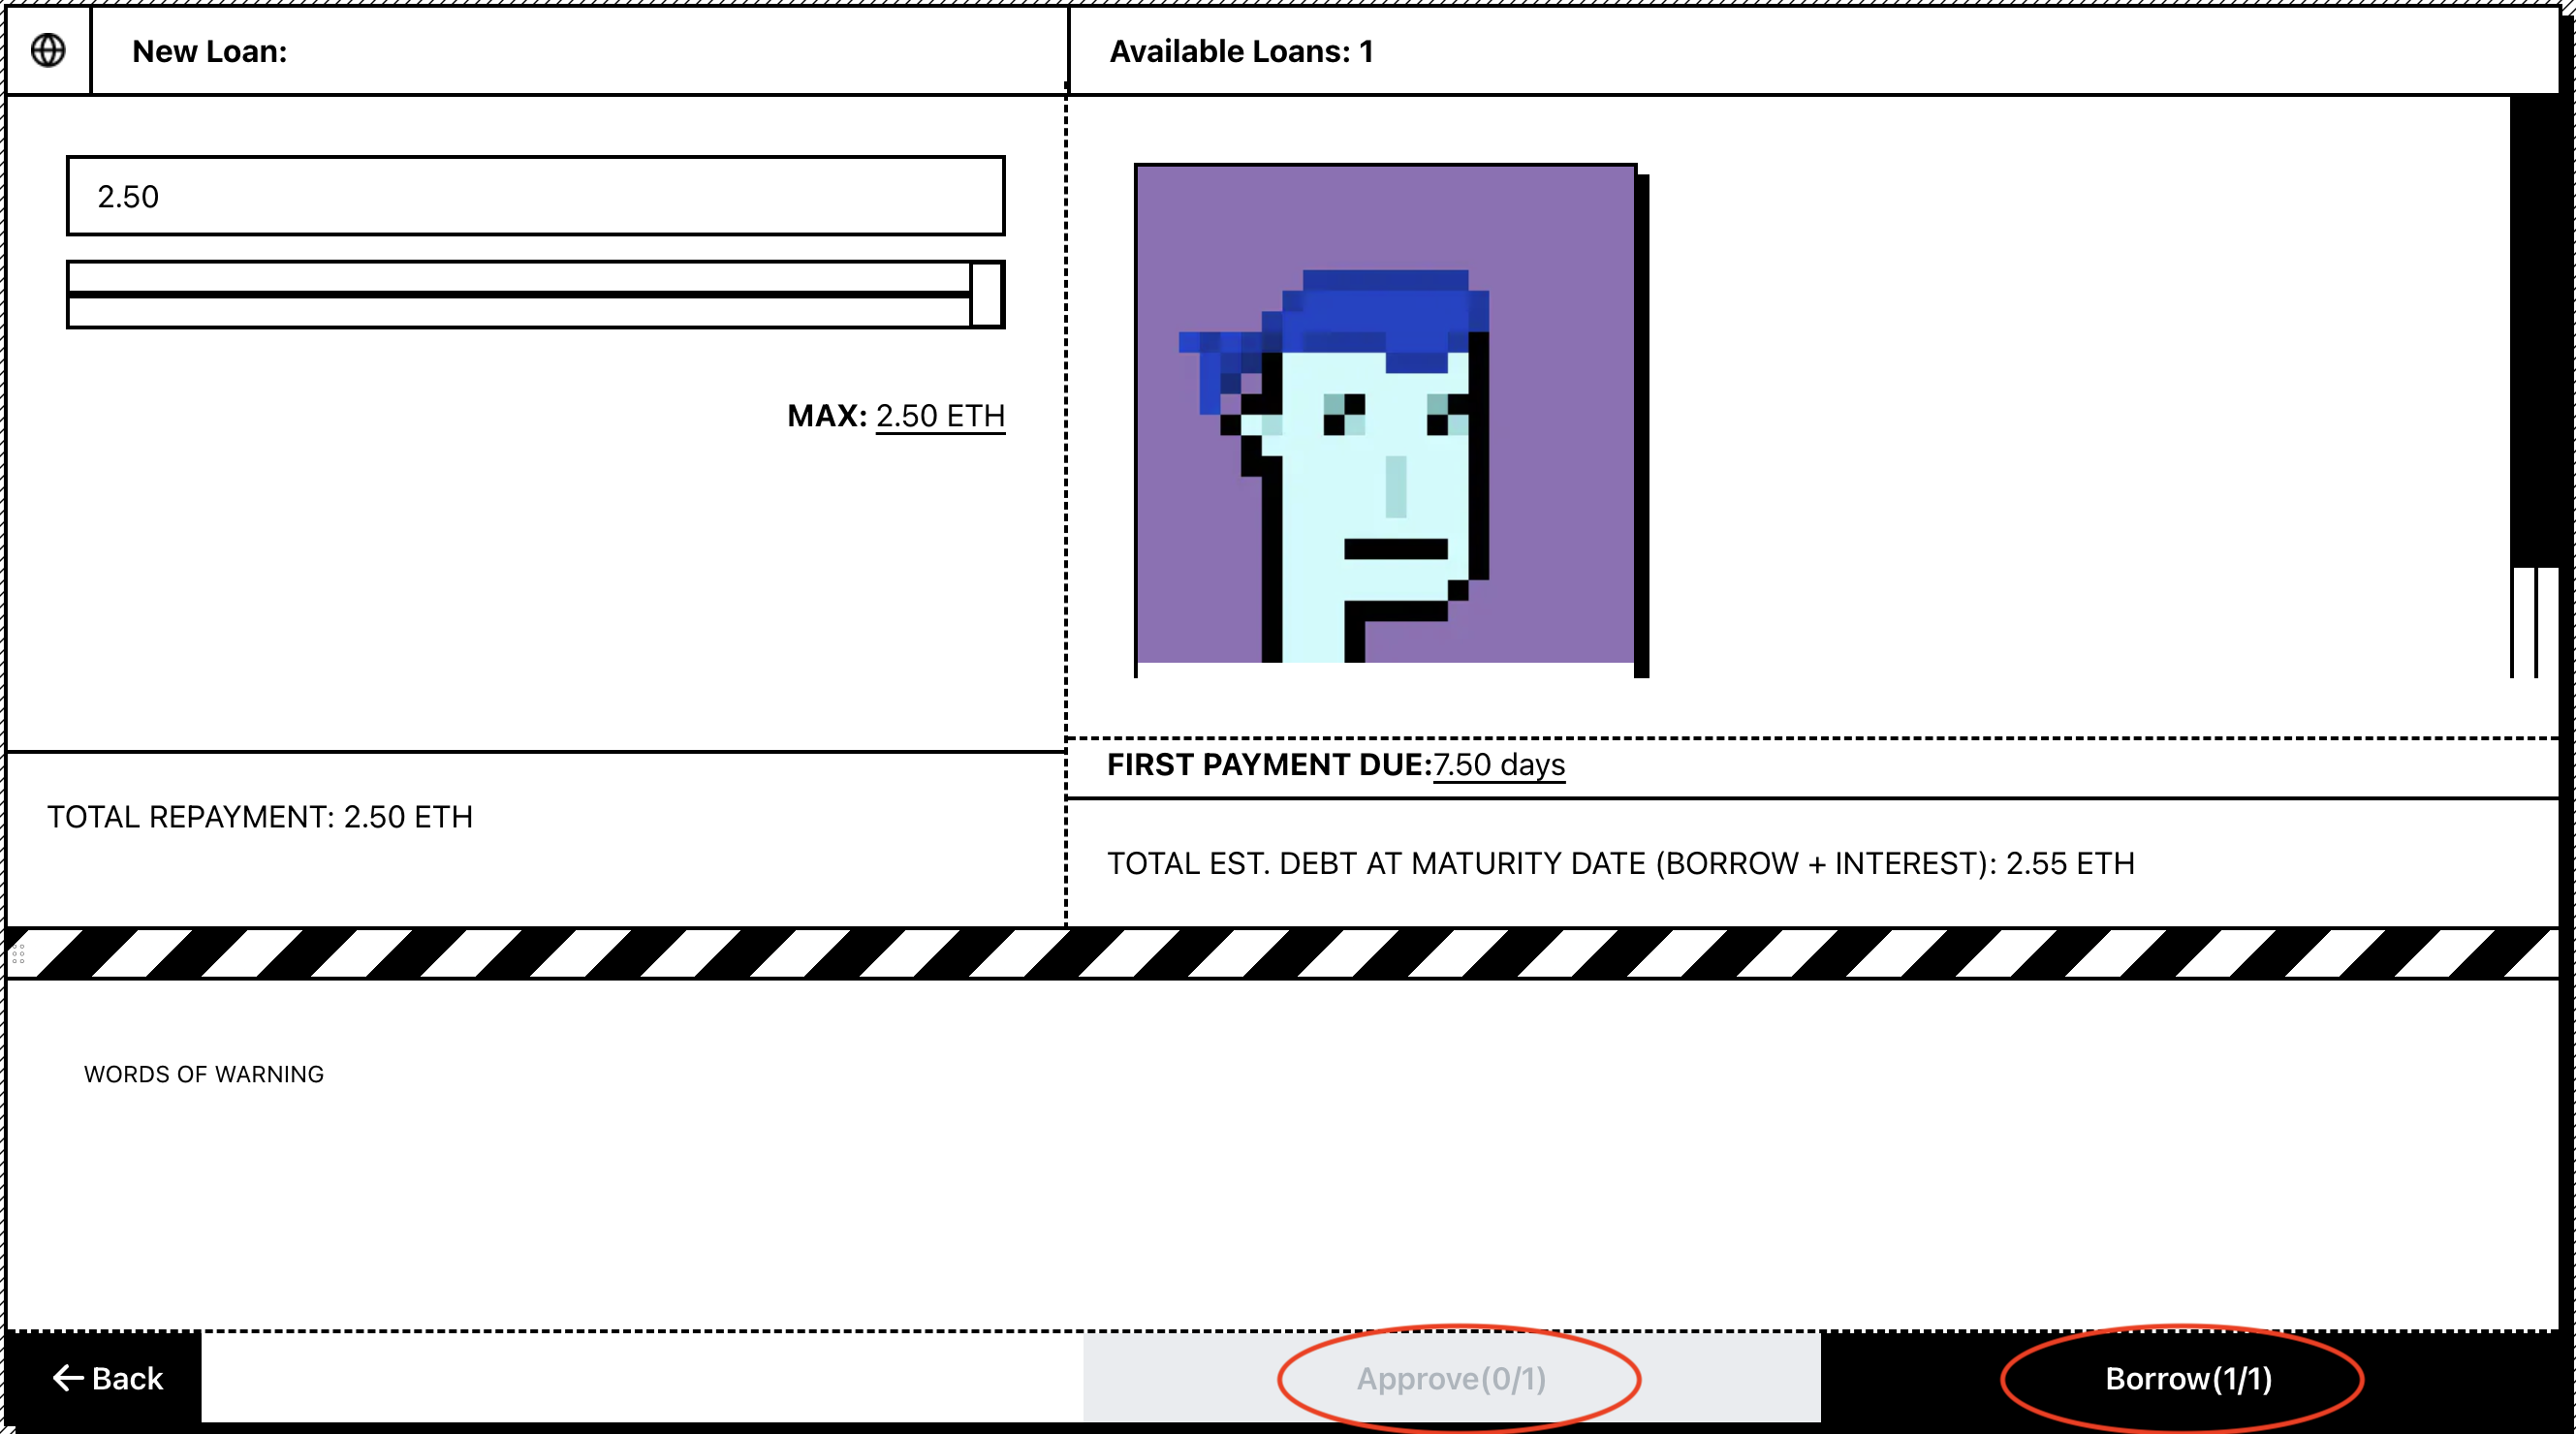
After confirming these details, click Approve.
- Hit the
Borrowbutton to build your borrow transactions.
- Confirm transactions
Please review all details here and ensure you are using the right contracts. Astaria's mainnet contract addresses can be found here.
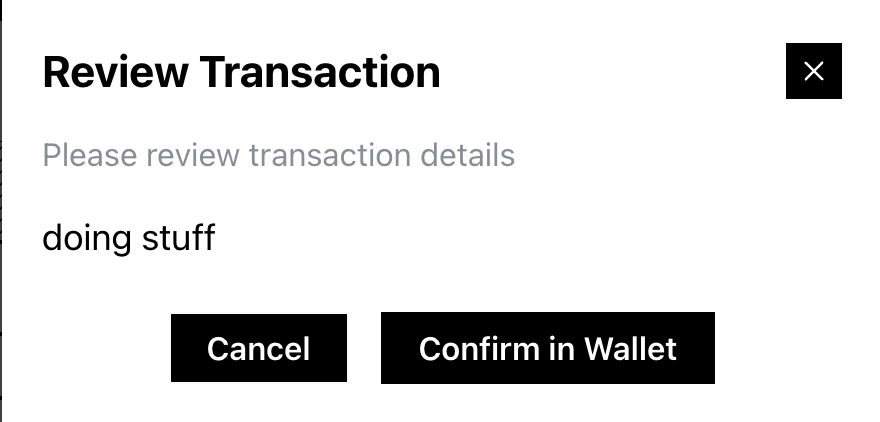
- Once confirmed, you will be prompted to sign the transaction using your wallet. After confirming, you should see a pending screen.
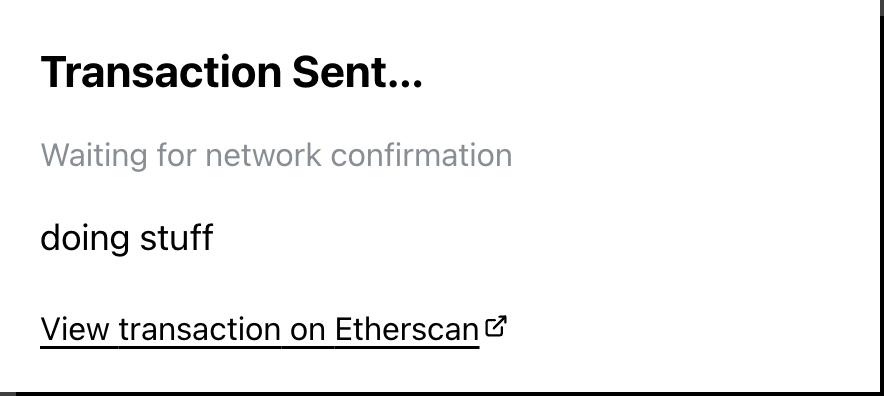
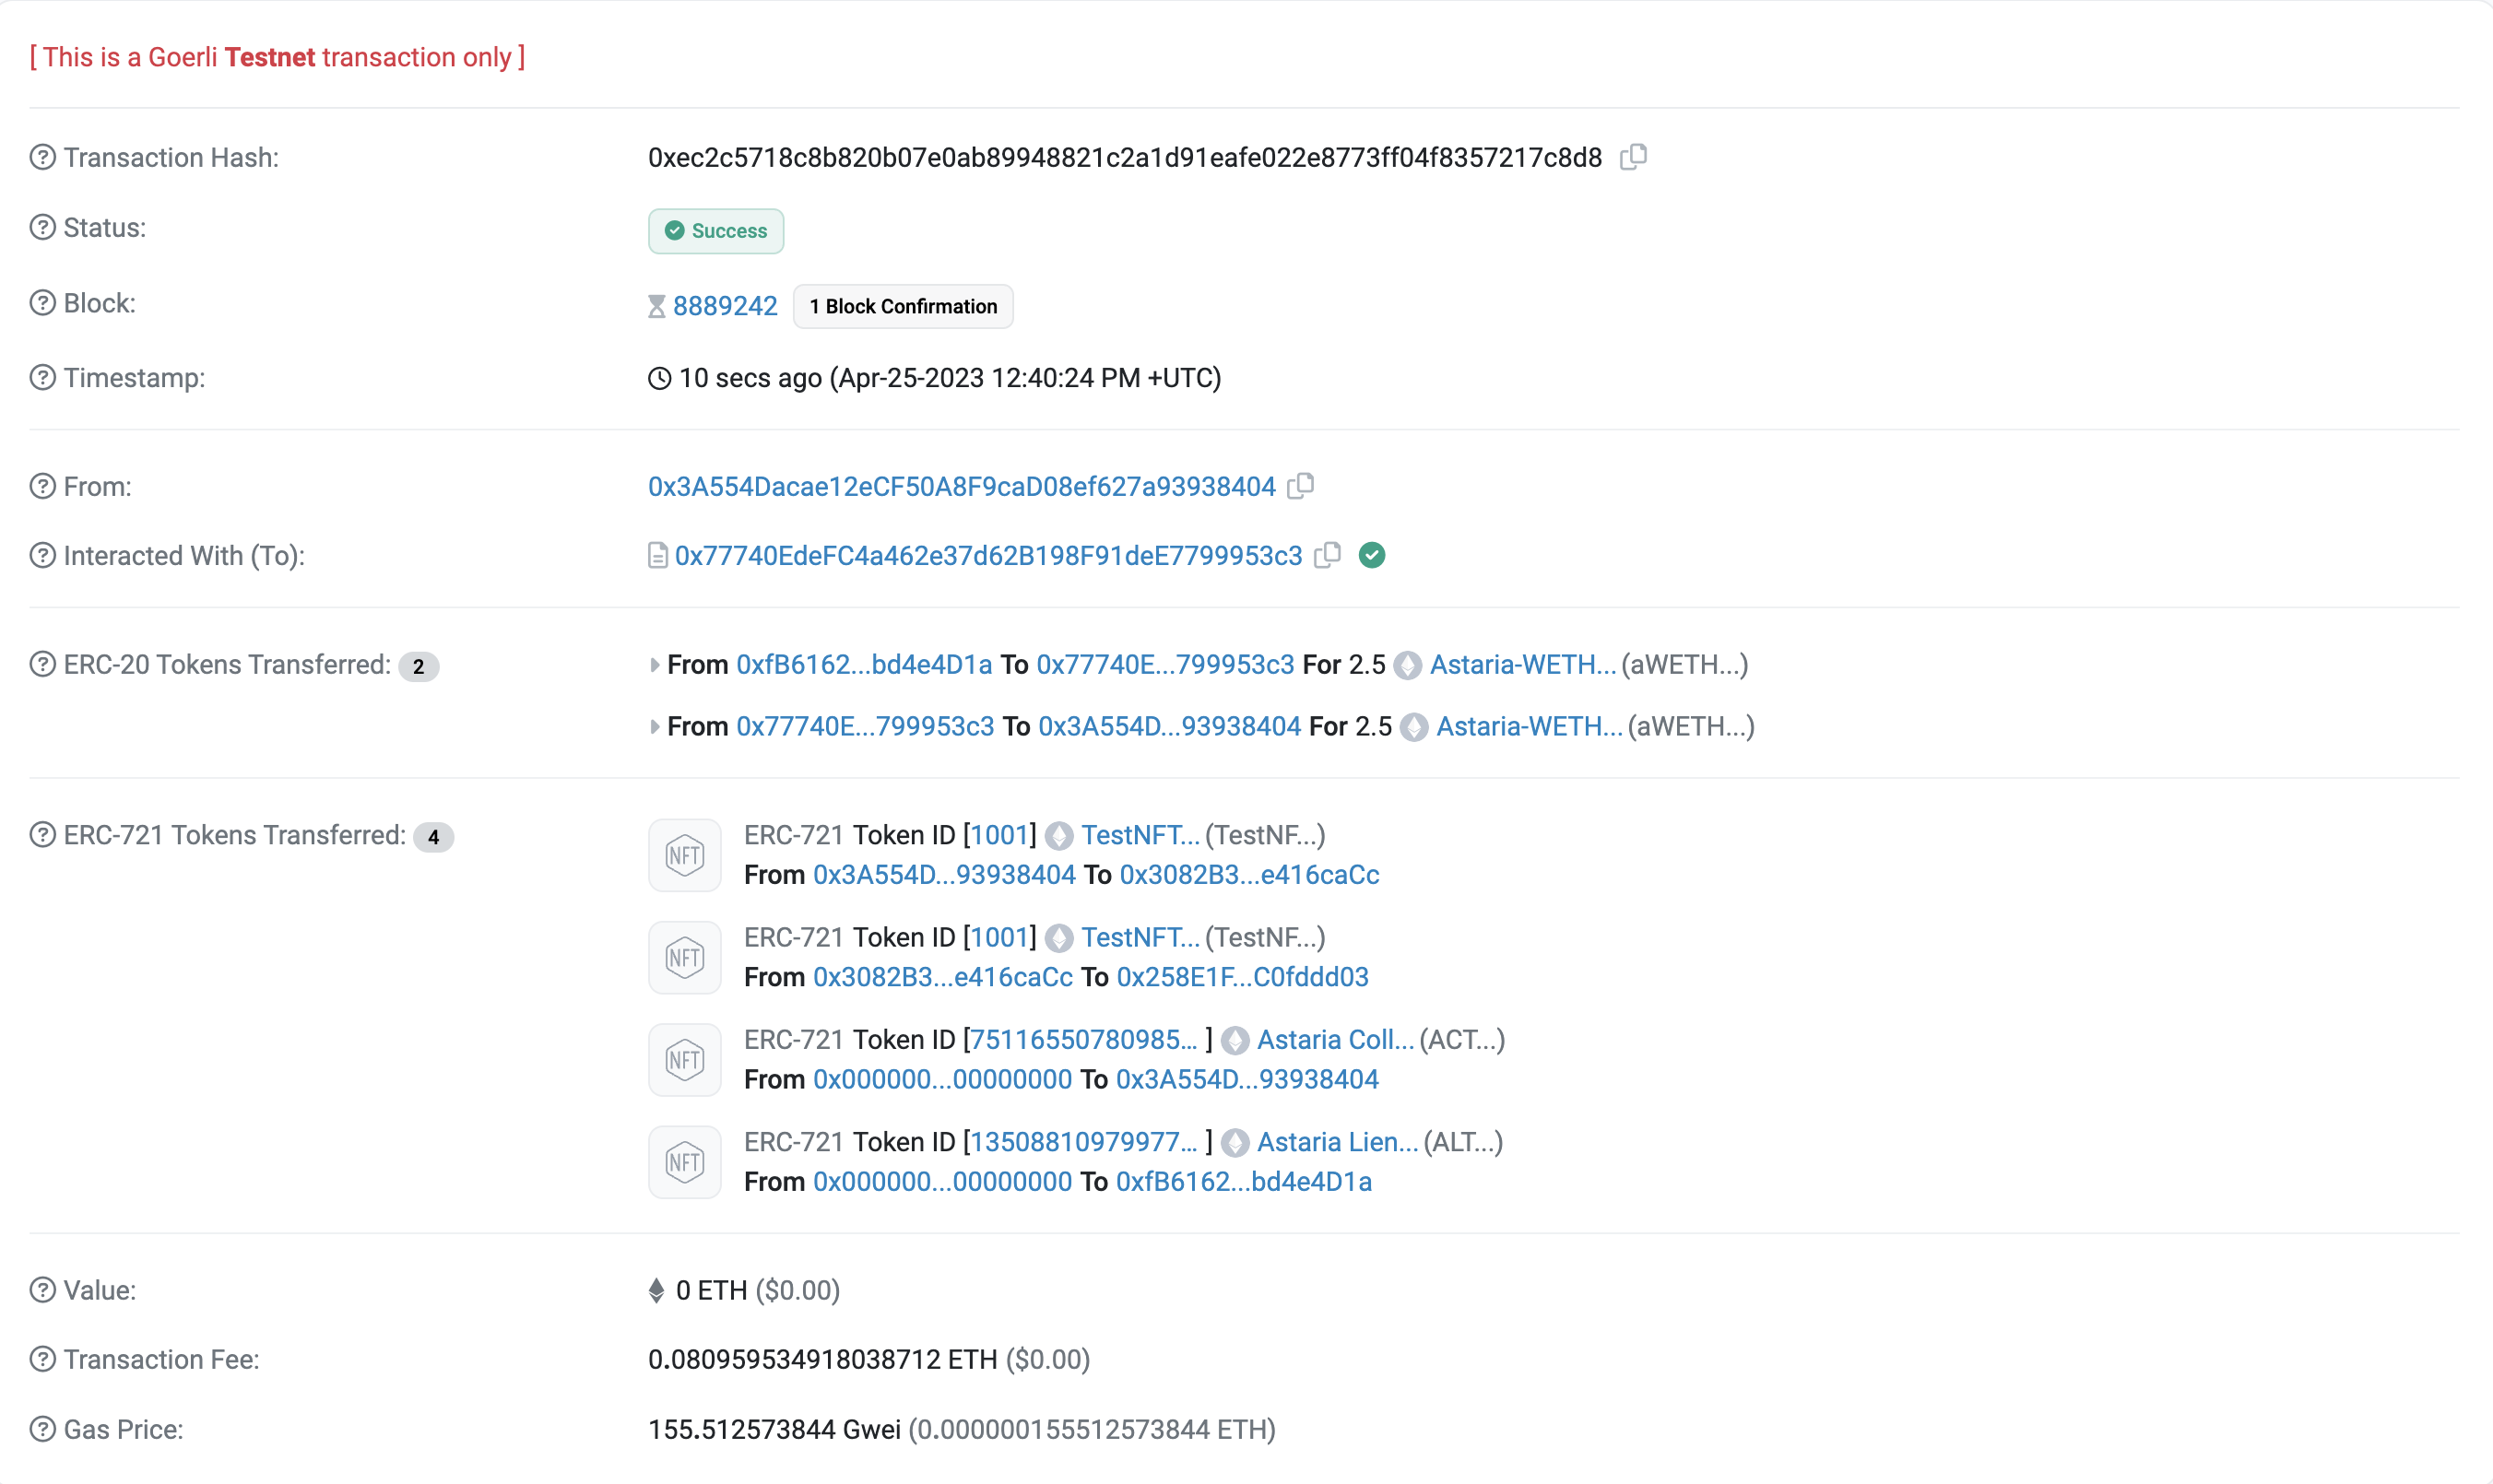
- You can now confirm your loan transactions on Etherscan. A successful loan will look like the screenshot below (note that this is a testnet loan, so some details may vary).
Need extra help?
Reach out to us on Discord to ask questions.